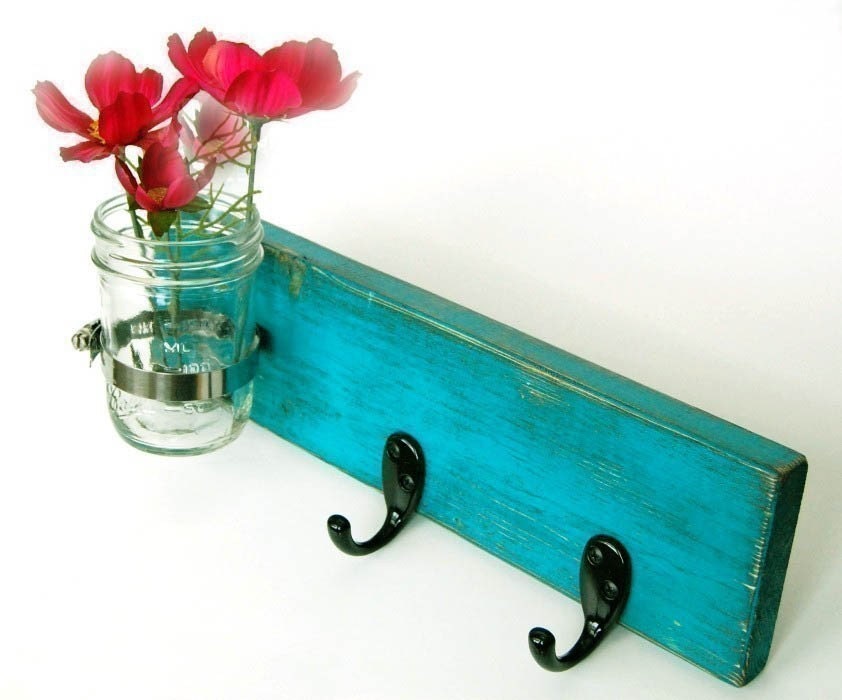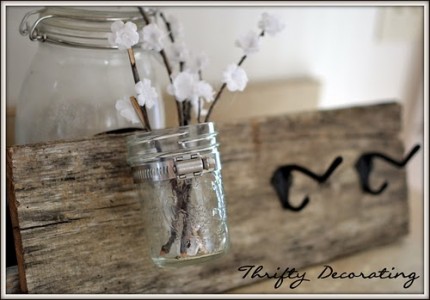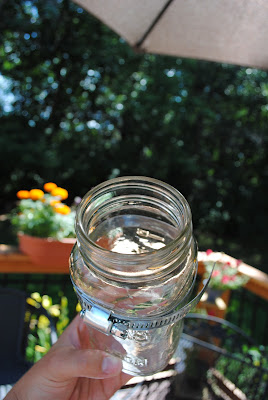
I've been seeing these key hooks with mason jars pop up around the internet lately and I decided I wanted to make one too.
I really like the raw wood on this one, but I didn't have anything that looked that worn, so I made my own.
Here's what I used:
A toolbox... or more-so the tools that were inside :)
Paint in a couple different colors
An old candle (or wax)
A pipe clamp
Key hooks
Sandpaper
Wood
Mason Jar
I also used a picture hanging kit to put brackets on the back of my board
What to do:
1. Rough up your board quite a bit (or to whatever degree you'd like). I opened my toolbox and used whatever I could. Pounding down on the side of screws, hammering in nails, applying pressure to the edges with a wrench, hammering areas of the board and even using new puppy teeth were some of my methods to distress the board.
2. Sand down any pieces of wood that are sticking up.
3. Paint the wood your base color. I chose to use a mustard yellow. This is the color that will peak through in small areas.
It doesn't have to be perfect, just make sure the wood is covered.
4. After the paint is dry, apply the wax to any areas you want to stay yellow. I put it along the edges of the board, in areas that were distressed, and some random marks along the middle. Later when you sand your board, the second coat of paint will peel right off the wax.

5. Paint the wood your top color next. I used a spray paint to get more even coverage.
 |
| I don't use spray paint that often, but I DO know what "matte" means... and this was not it |
 | |||||
| SHINY! Not what I wanted. |
6. So I let it dry and scratched my head. Nope, it still wasn't a matte finish. So I got some new paint and tried again.

7. After the paint dries, take the sandpaper and gently sand the areas that you applied the wax.
Here's what I got after sanding...
The nice thing about this blog is that I usually tell you what I do wrong and you can learn from my mistakes! I put the hanging hooks on after everything else was attached... and it was difficult!
8. Attach picture hanging hooks to the back of the board
9. Drill some holes in your board where you want your key hooks to go
10. Unscrew the connector (technical terms, I know) on the pipe clamp. Then either hammer or drill a hole on the back side that you will use to connect it to your board. This was the hardest part for me, so good luck!
11. Attach it to your board and then fit your jar into it and tighten (I did not do it this way, but I think it'd be much easier if I had!)
12. Drill your hooks into the board and you should have something that looks like this:


Great tutorial and so easy to make!! I love these and I can't wait to make these for my future home.
ReplyDeleteJackie